Connecting Jobber
On a call, your agent can:
- Find an existing client by the number the caller is ringing from.
- Create a client from the name, phone, email, and address it collected.
- Create a request describing the work needed.
- Book an on-site assessment, and move it if the caller changes their mind before hanging up.
Before you start
Section titled “Before you start”- A Jobber account you can authorise apps for. Callspace asks for read and write access to clients and requests, and read access to jobs and quotes.
- Callspace books through one provider at a time. Disconnect Google Calendar, Calendly, or Juvonno first.
Connect it
Section titled “Connect it”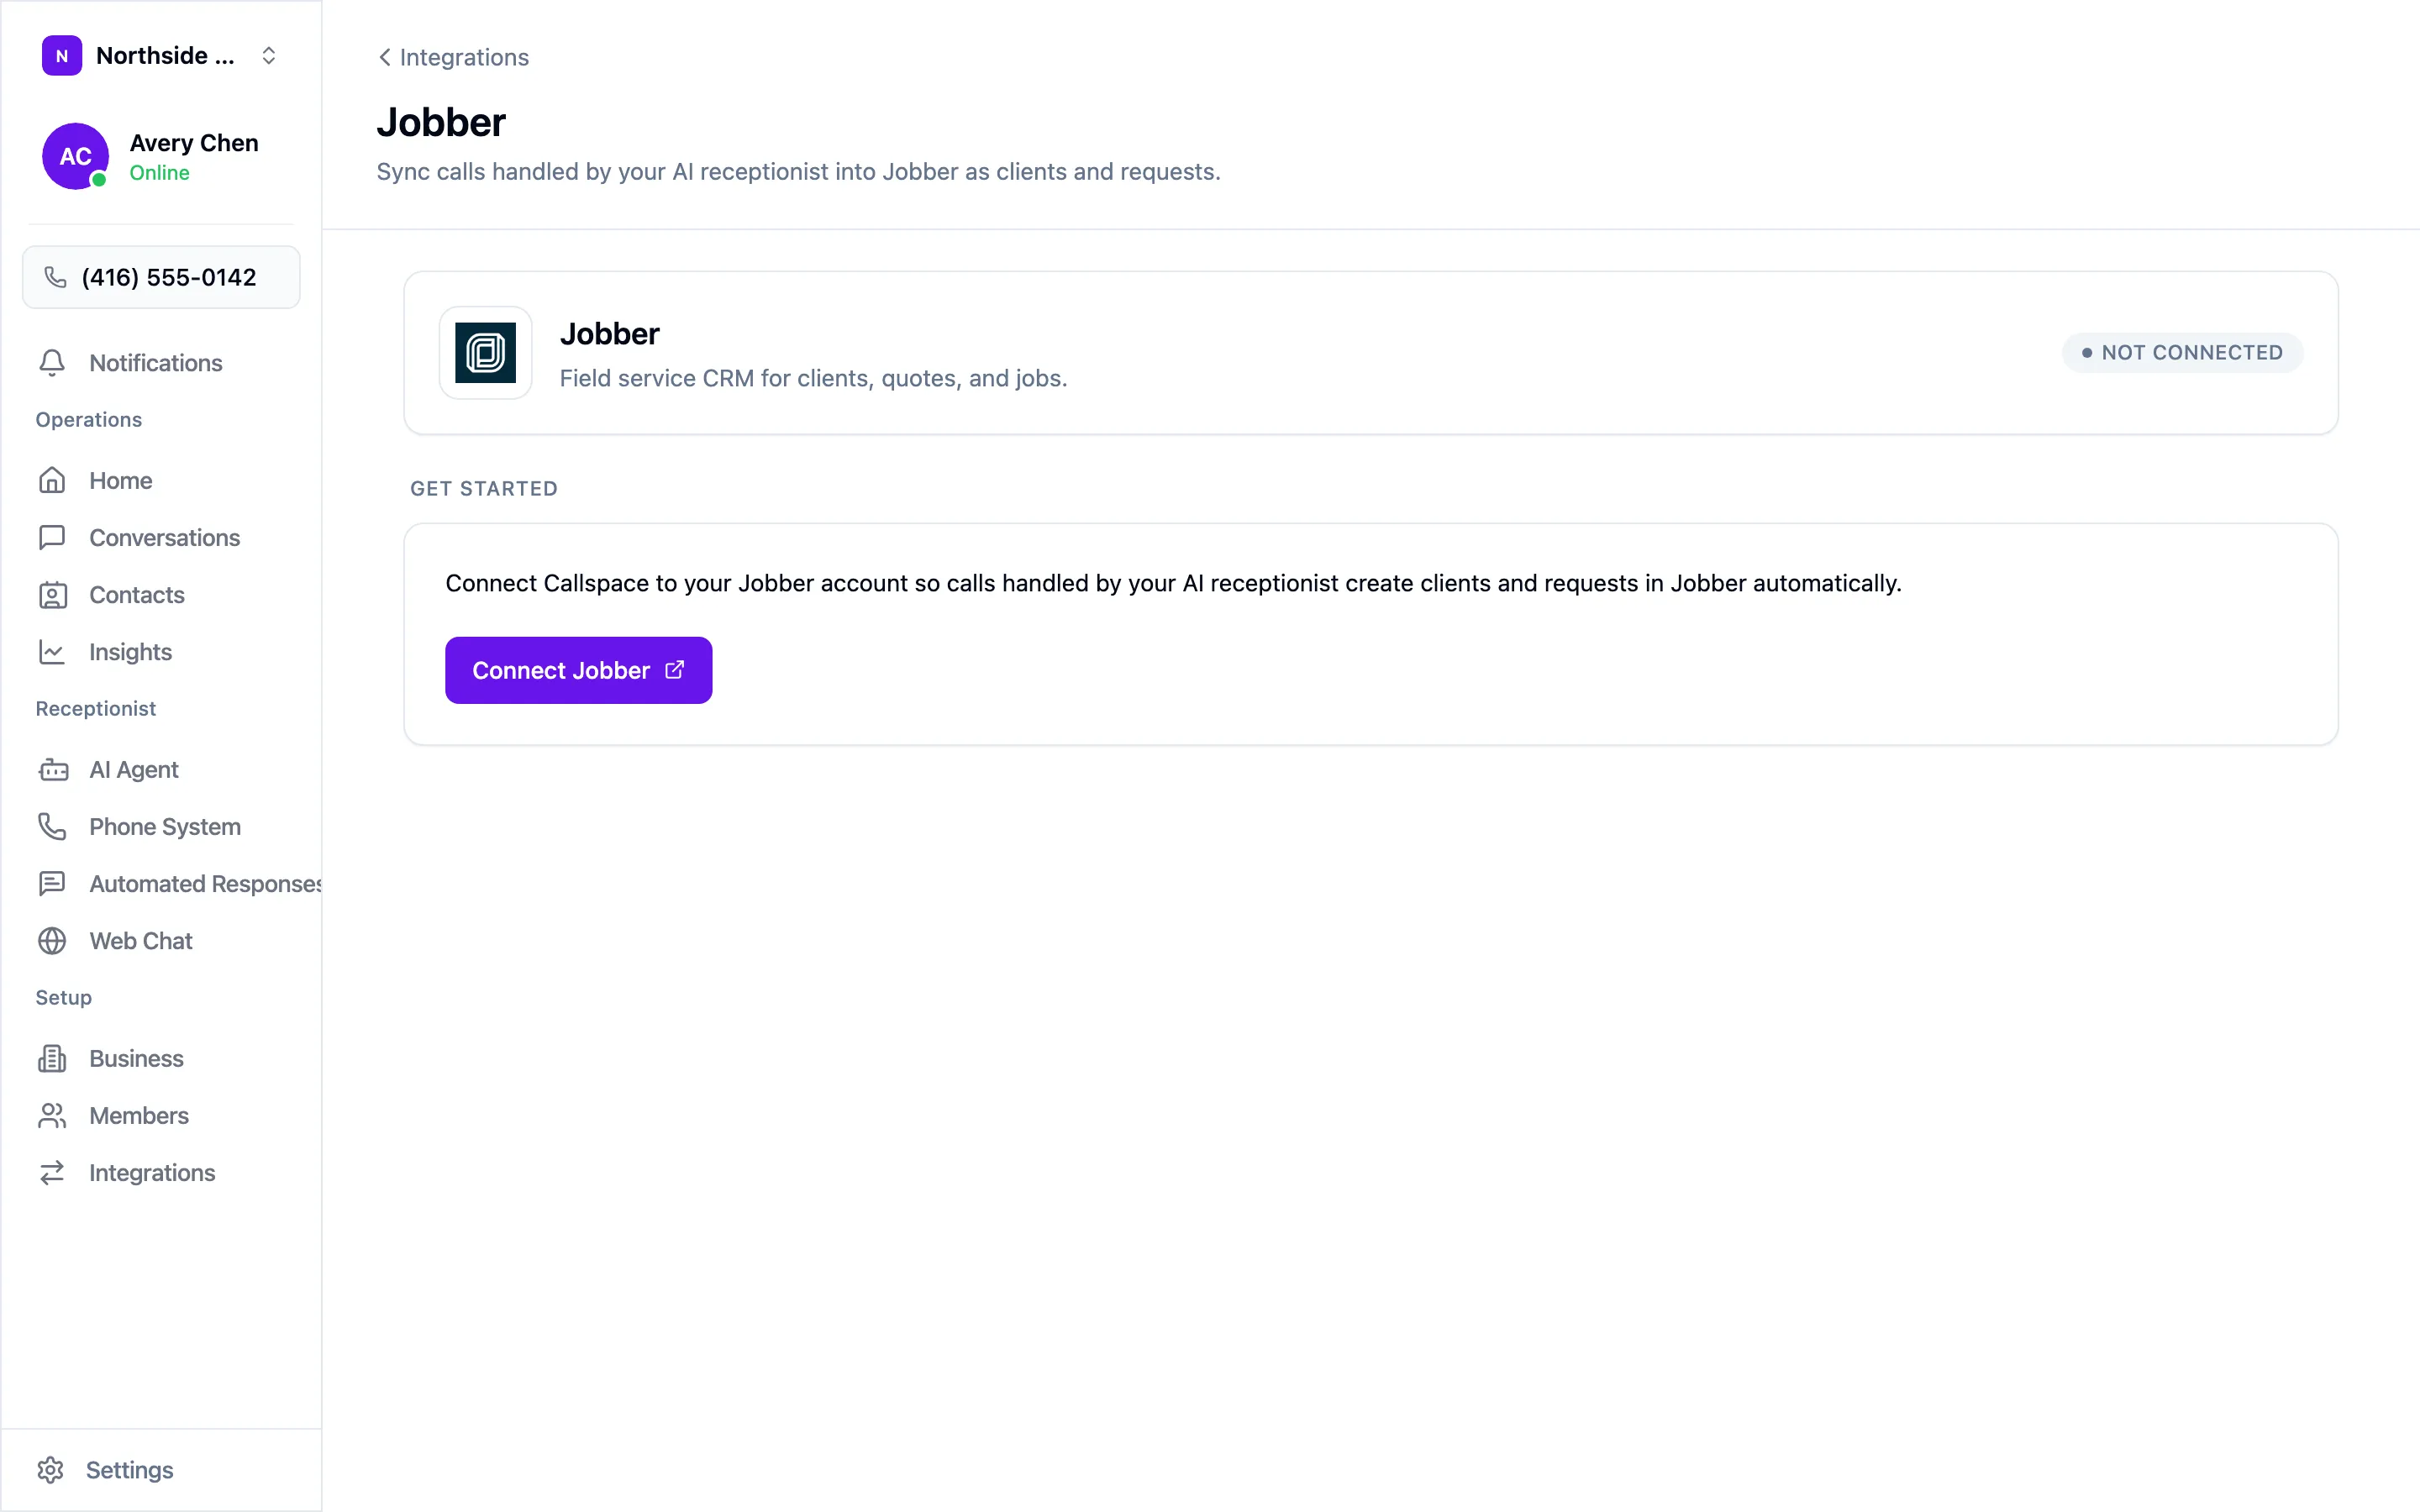
- Open Settings → Integrations and choose Configure on the Jobber tile.
- Choose Connect Jobber, sign in, and approve the access request.
- You land back on a screen showing your Jobber account ID, the access granted, and the last sync.
Set the booking hours
Section titled “Set the booking hours”- Open AI Agent → Booking & Calendar.
- Set your booking hours and timezone.
- Turn on Enable Phone Booking.
Your agent offers times that are inside your booking hours and free on your Jobber schedule, with two rules on top:
- Assessments start at least 24 hours out, whatever the lead time is set to.
- The buffer applies between visits, so bookings leave travel time.
Test it
Section titled “Test it”- Call your own number as a new customer, describe a job, and book an assessment.
- Check Jobber for the new client, the request, and the assessment.
- Call again from the same number — it should find the client you just created.
Disconnecting
Section titled “Disconnecting”On the Jobber screen, choose Disconnect under Danger zone. Your agent stops creating records and stops booking. Clients, requests, and assessments already in Jobber stay as they are.