Getting started
Setting up Callspace
What happens between signing up and your first answered call — the two setup paths, what each question is for, and how to test your agent.
Updated
Setup takes a few minutes and ends with a working phone number that answers calls. There are two ways through it, and the first screen decides which one you get.
Start with your website, or without one
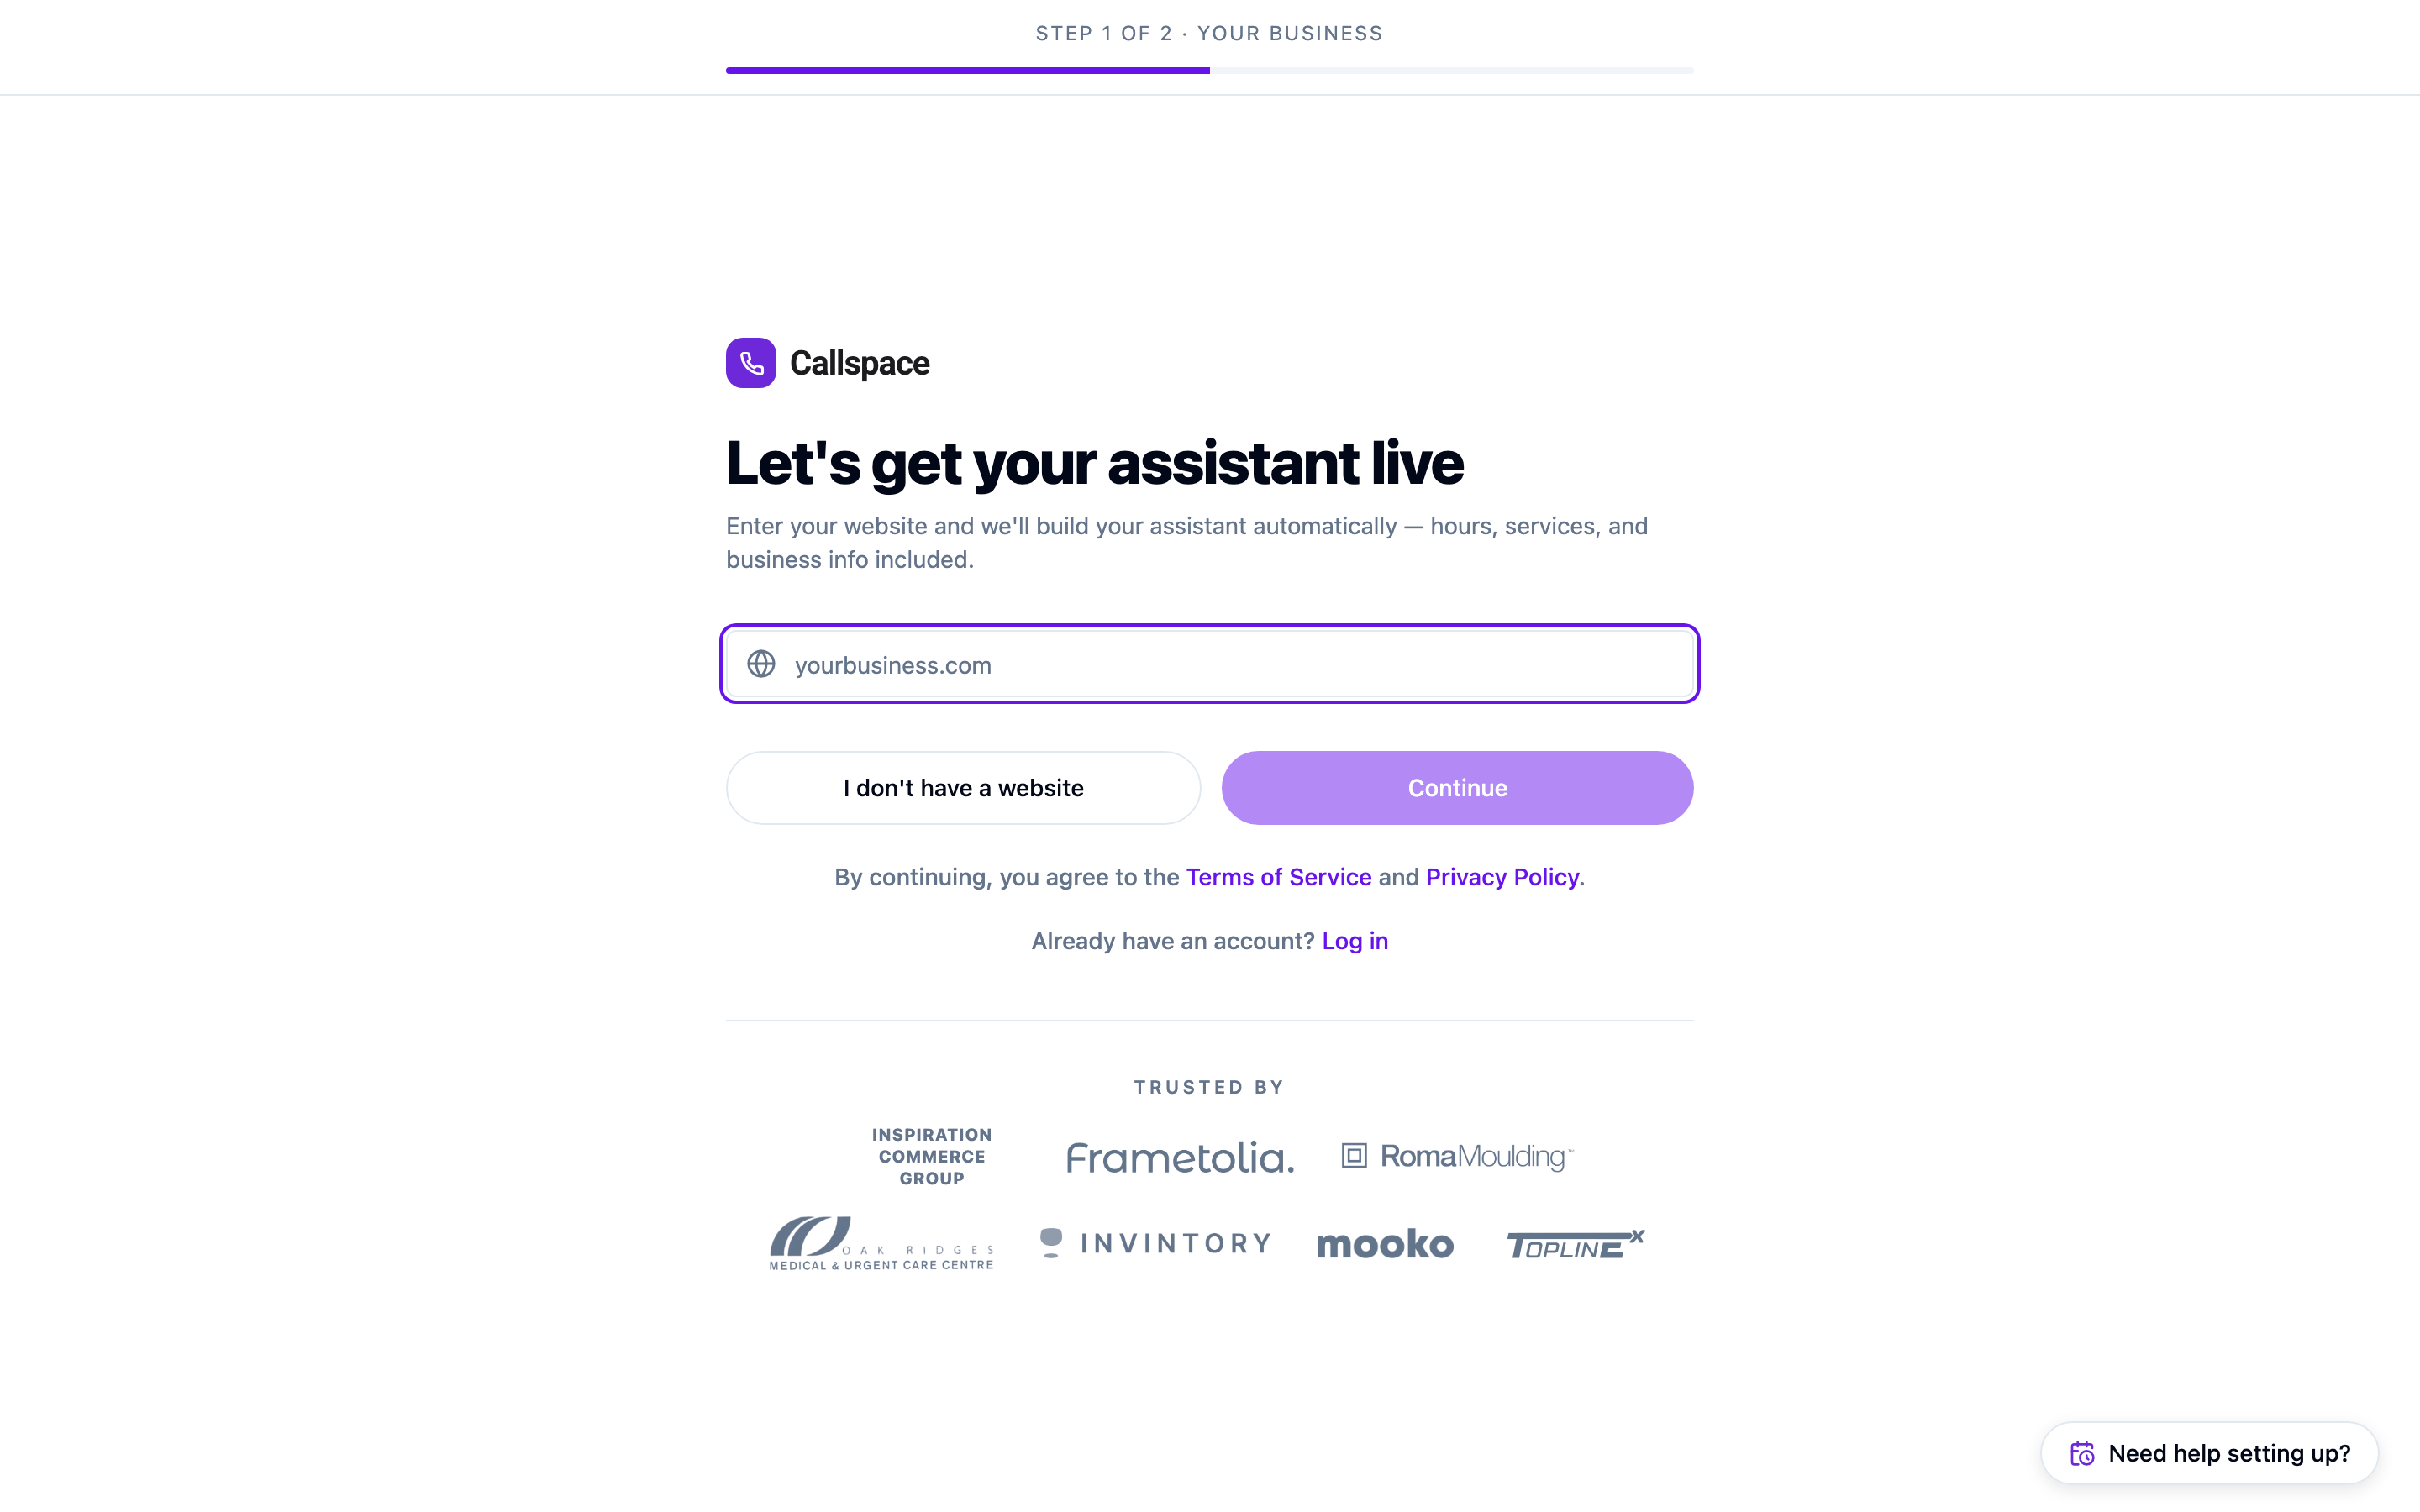
If you have a website, enter it and choose Continue. Callspace reads your public pages and uses them to fill in your services, hours, and business details, so you start with an agent that already knows what you sell. This is the two-step path.
If you don’t have a website — or you’d rather fill things in yourself — choose I don’t have a website. That switches you to a four-step path where you answer the same questions directly.
Either way you’ll create your account before anything is provisioned. If you already have one, use the Log in link at the bottom.
The four questions
These are the steps you’ll see on the manual path. On the website path, Callspace answers them from your site instead — you can change any of them later in Settings.
Your business name
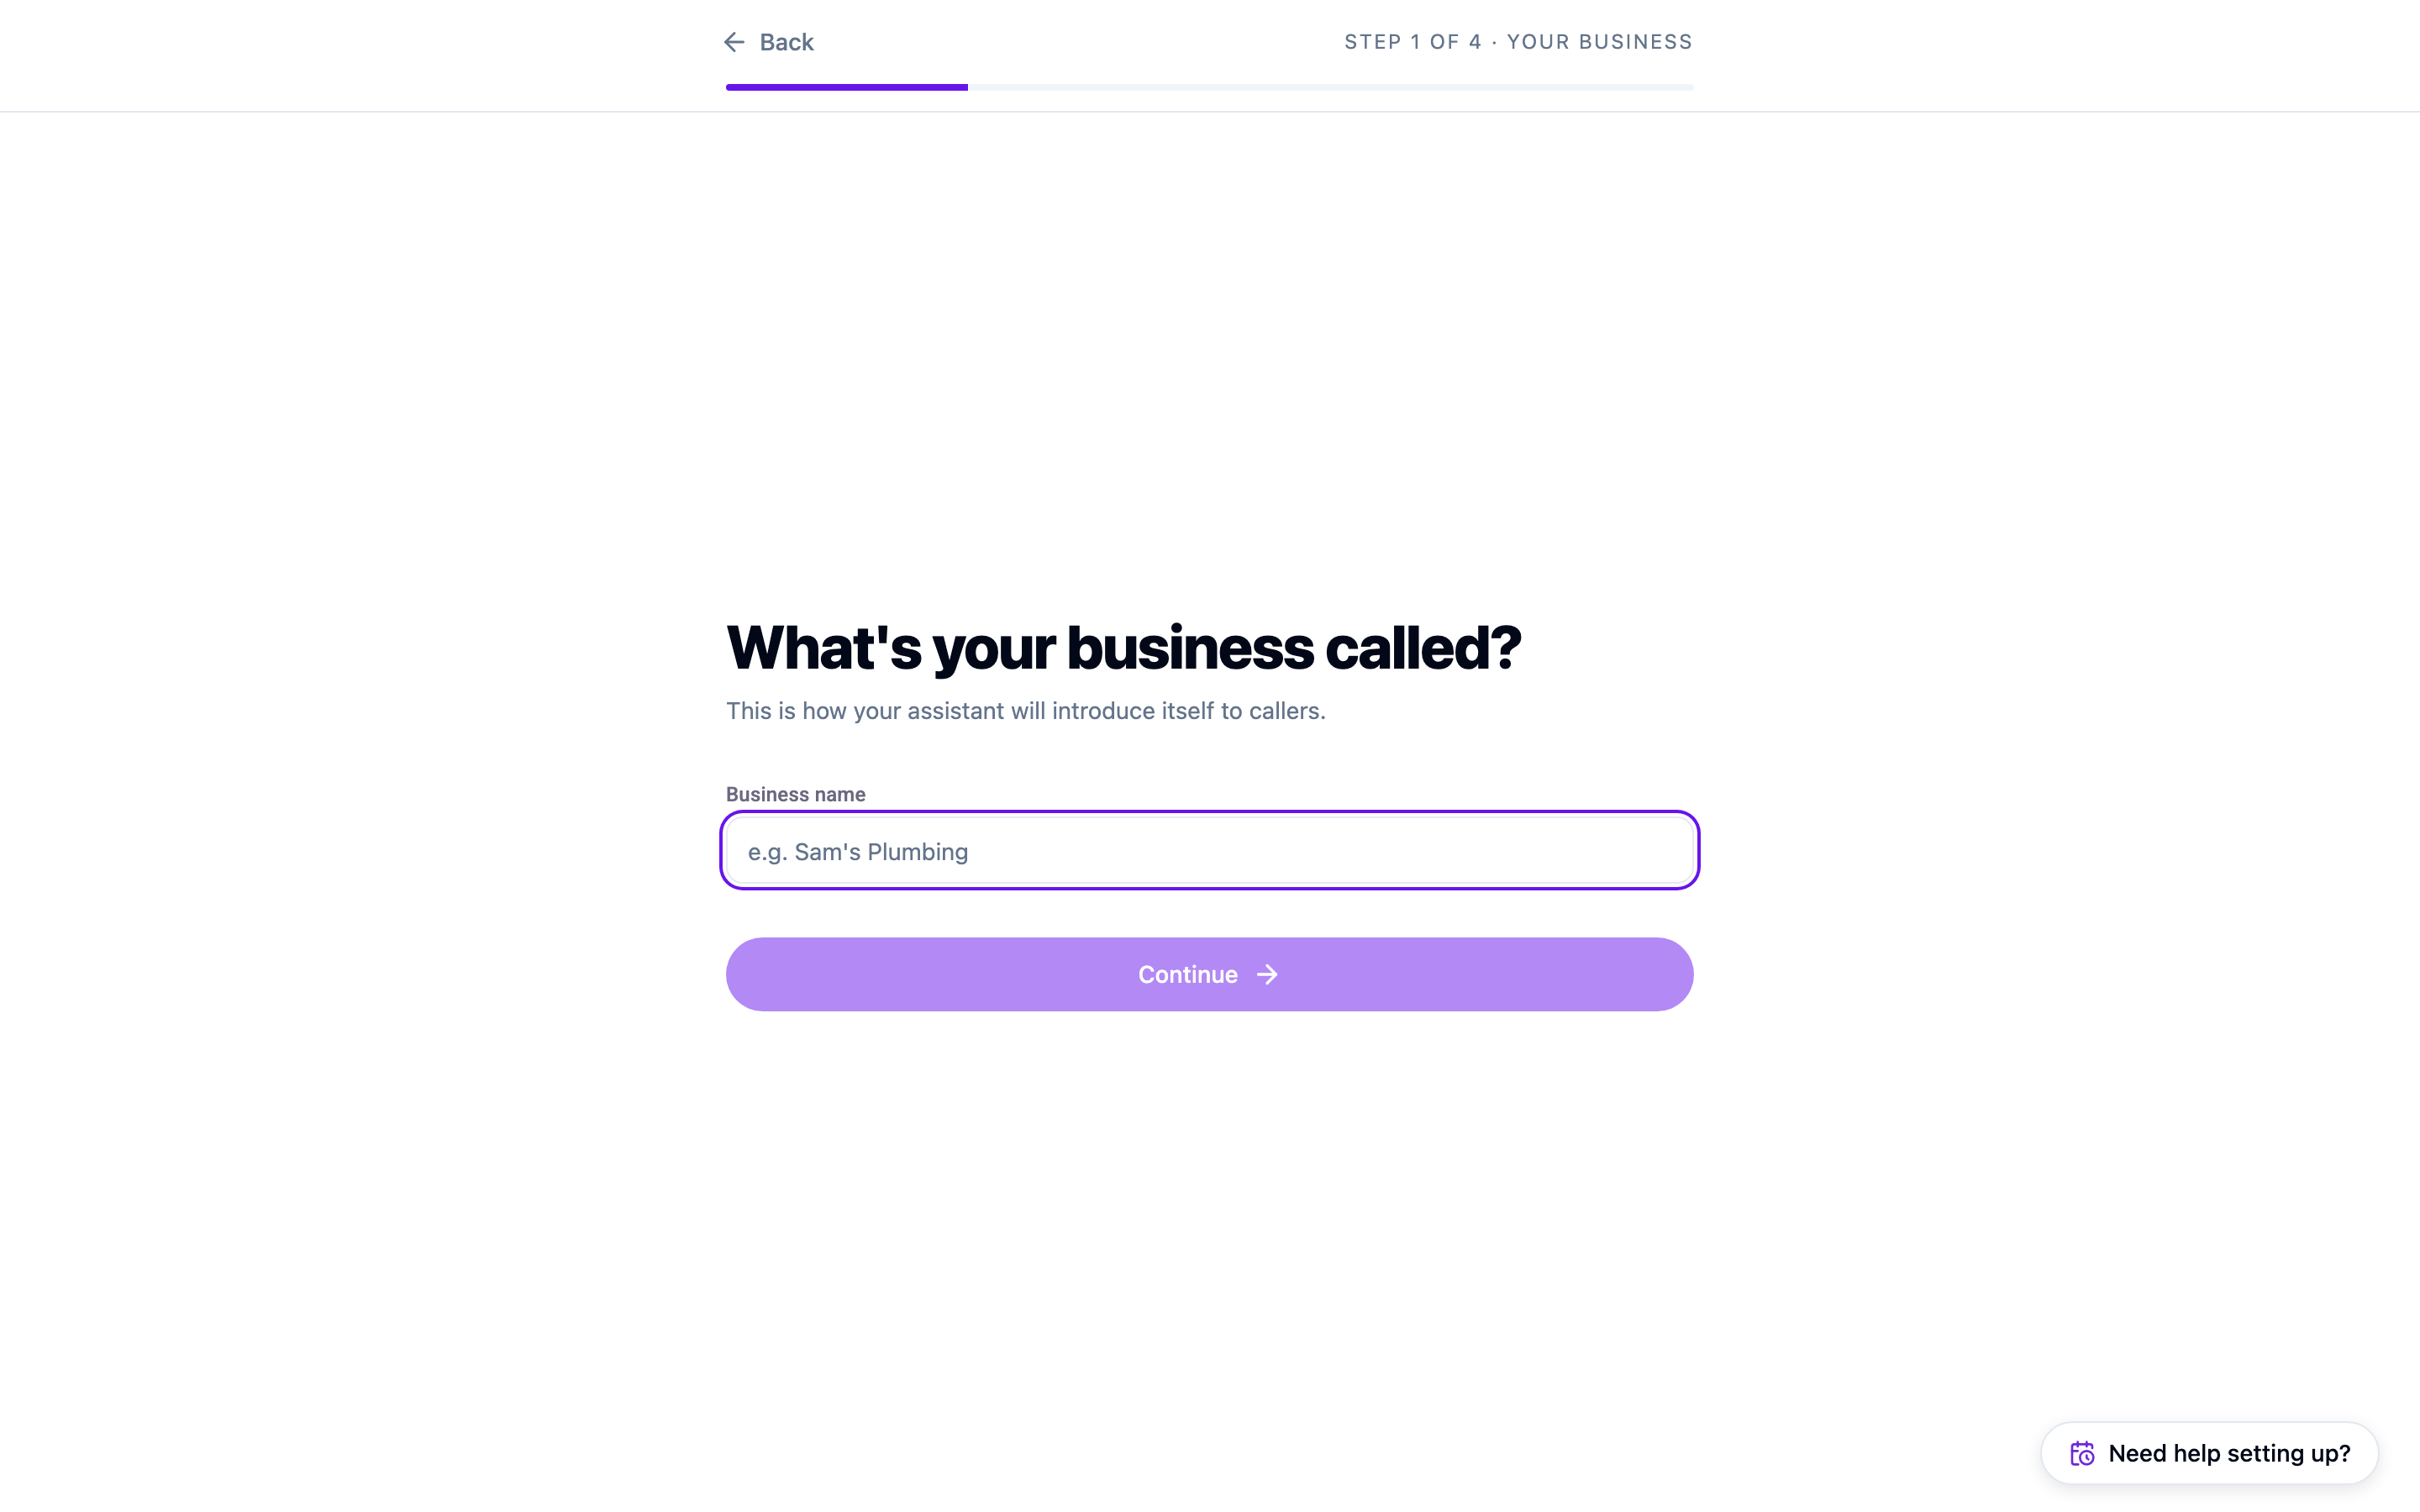
This is the name your agent says out loud, so write it the way you want it spoken. “Northside Plumbing and Heating” reads better over the phone than “Northside Plumbing & Heating Ltd.”
Your location
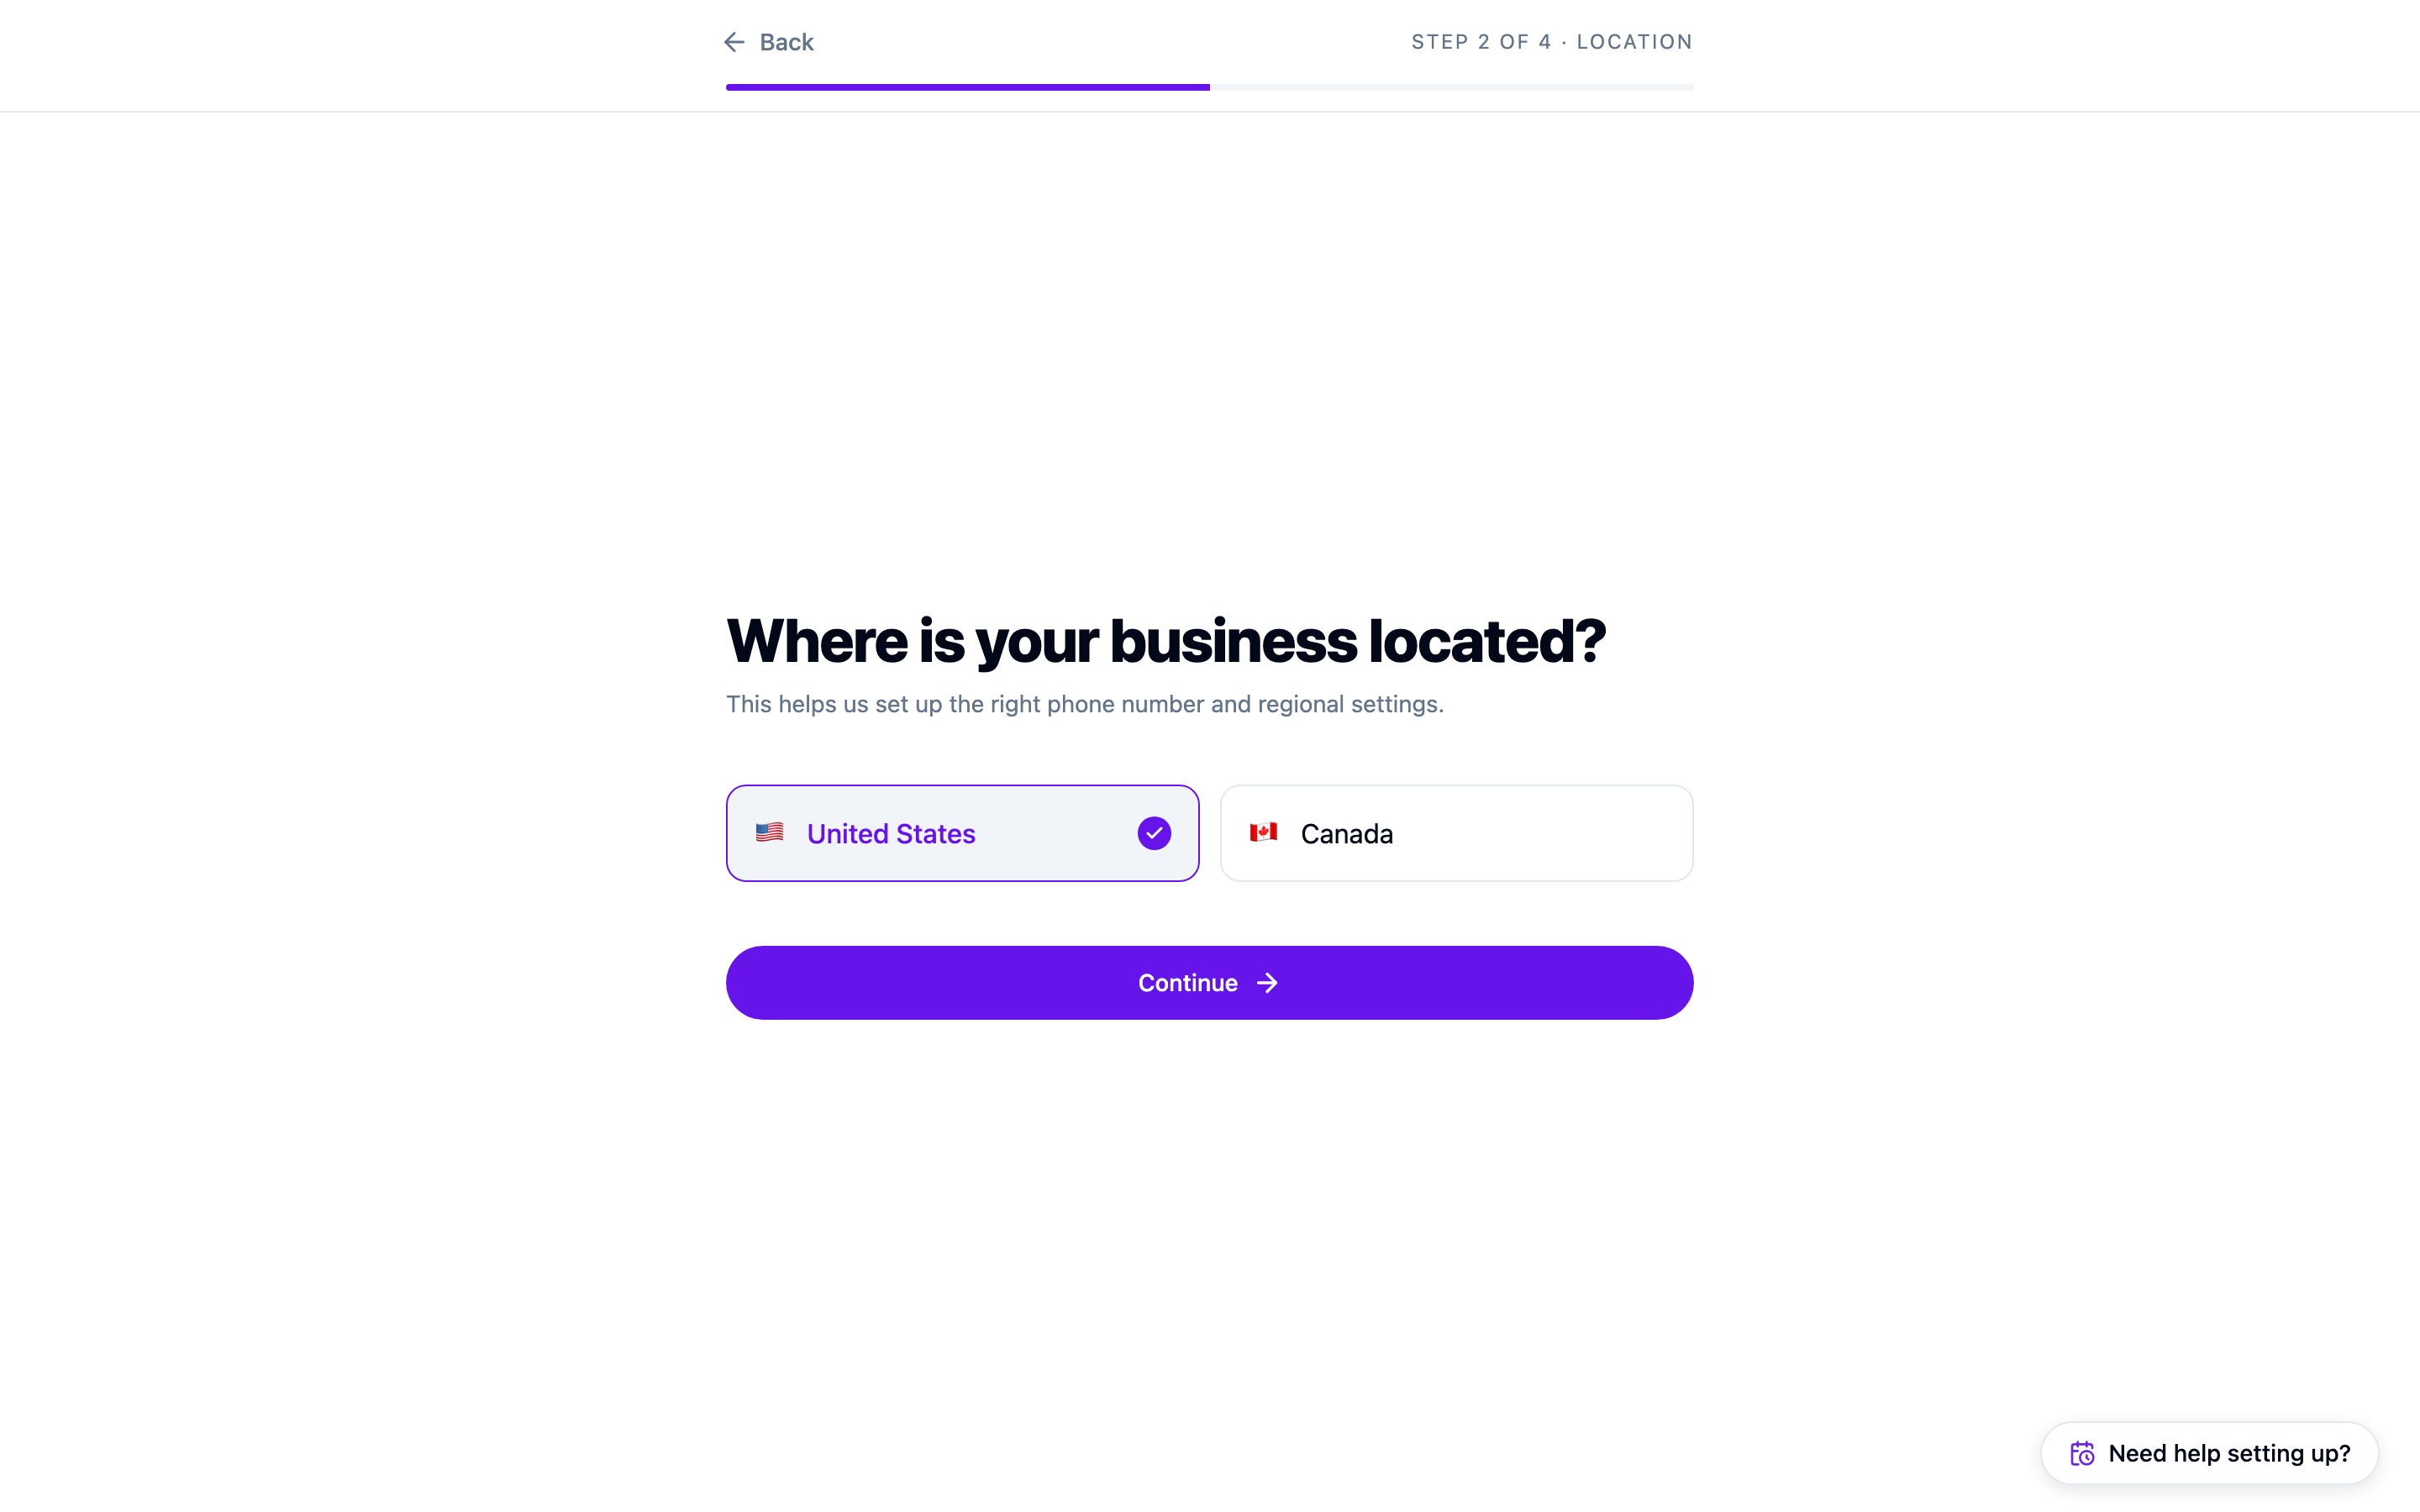
Pick the United States or Canada. This sets your regional defaults and determines where your phone number comes from.
Your industry
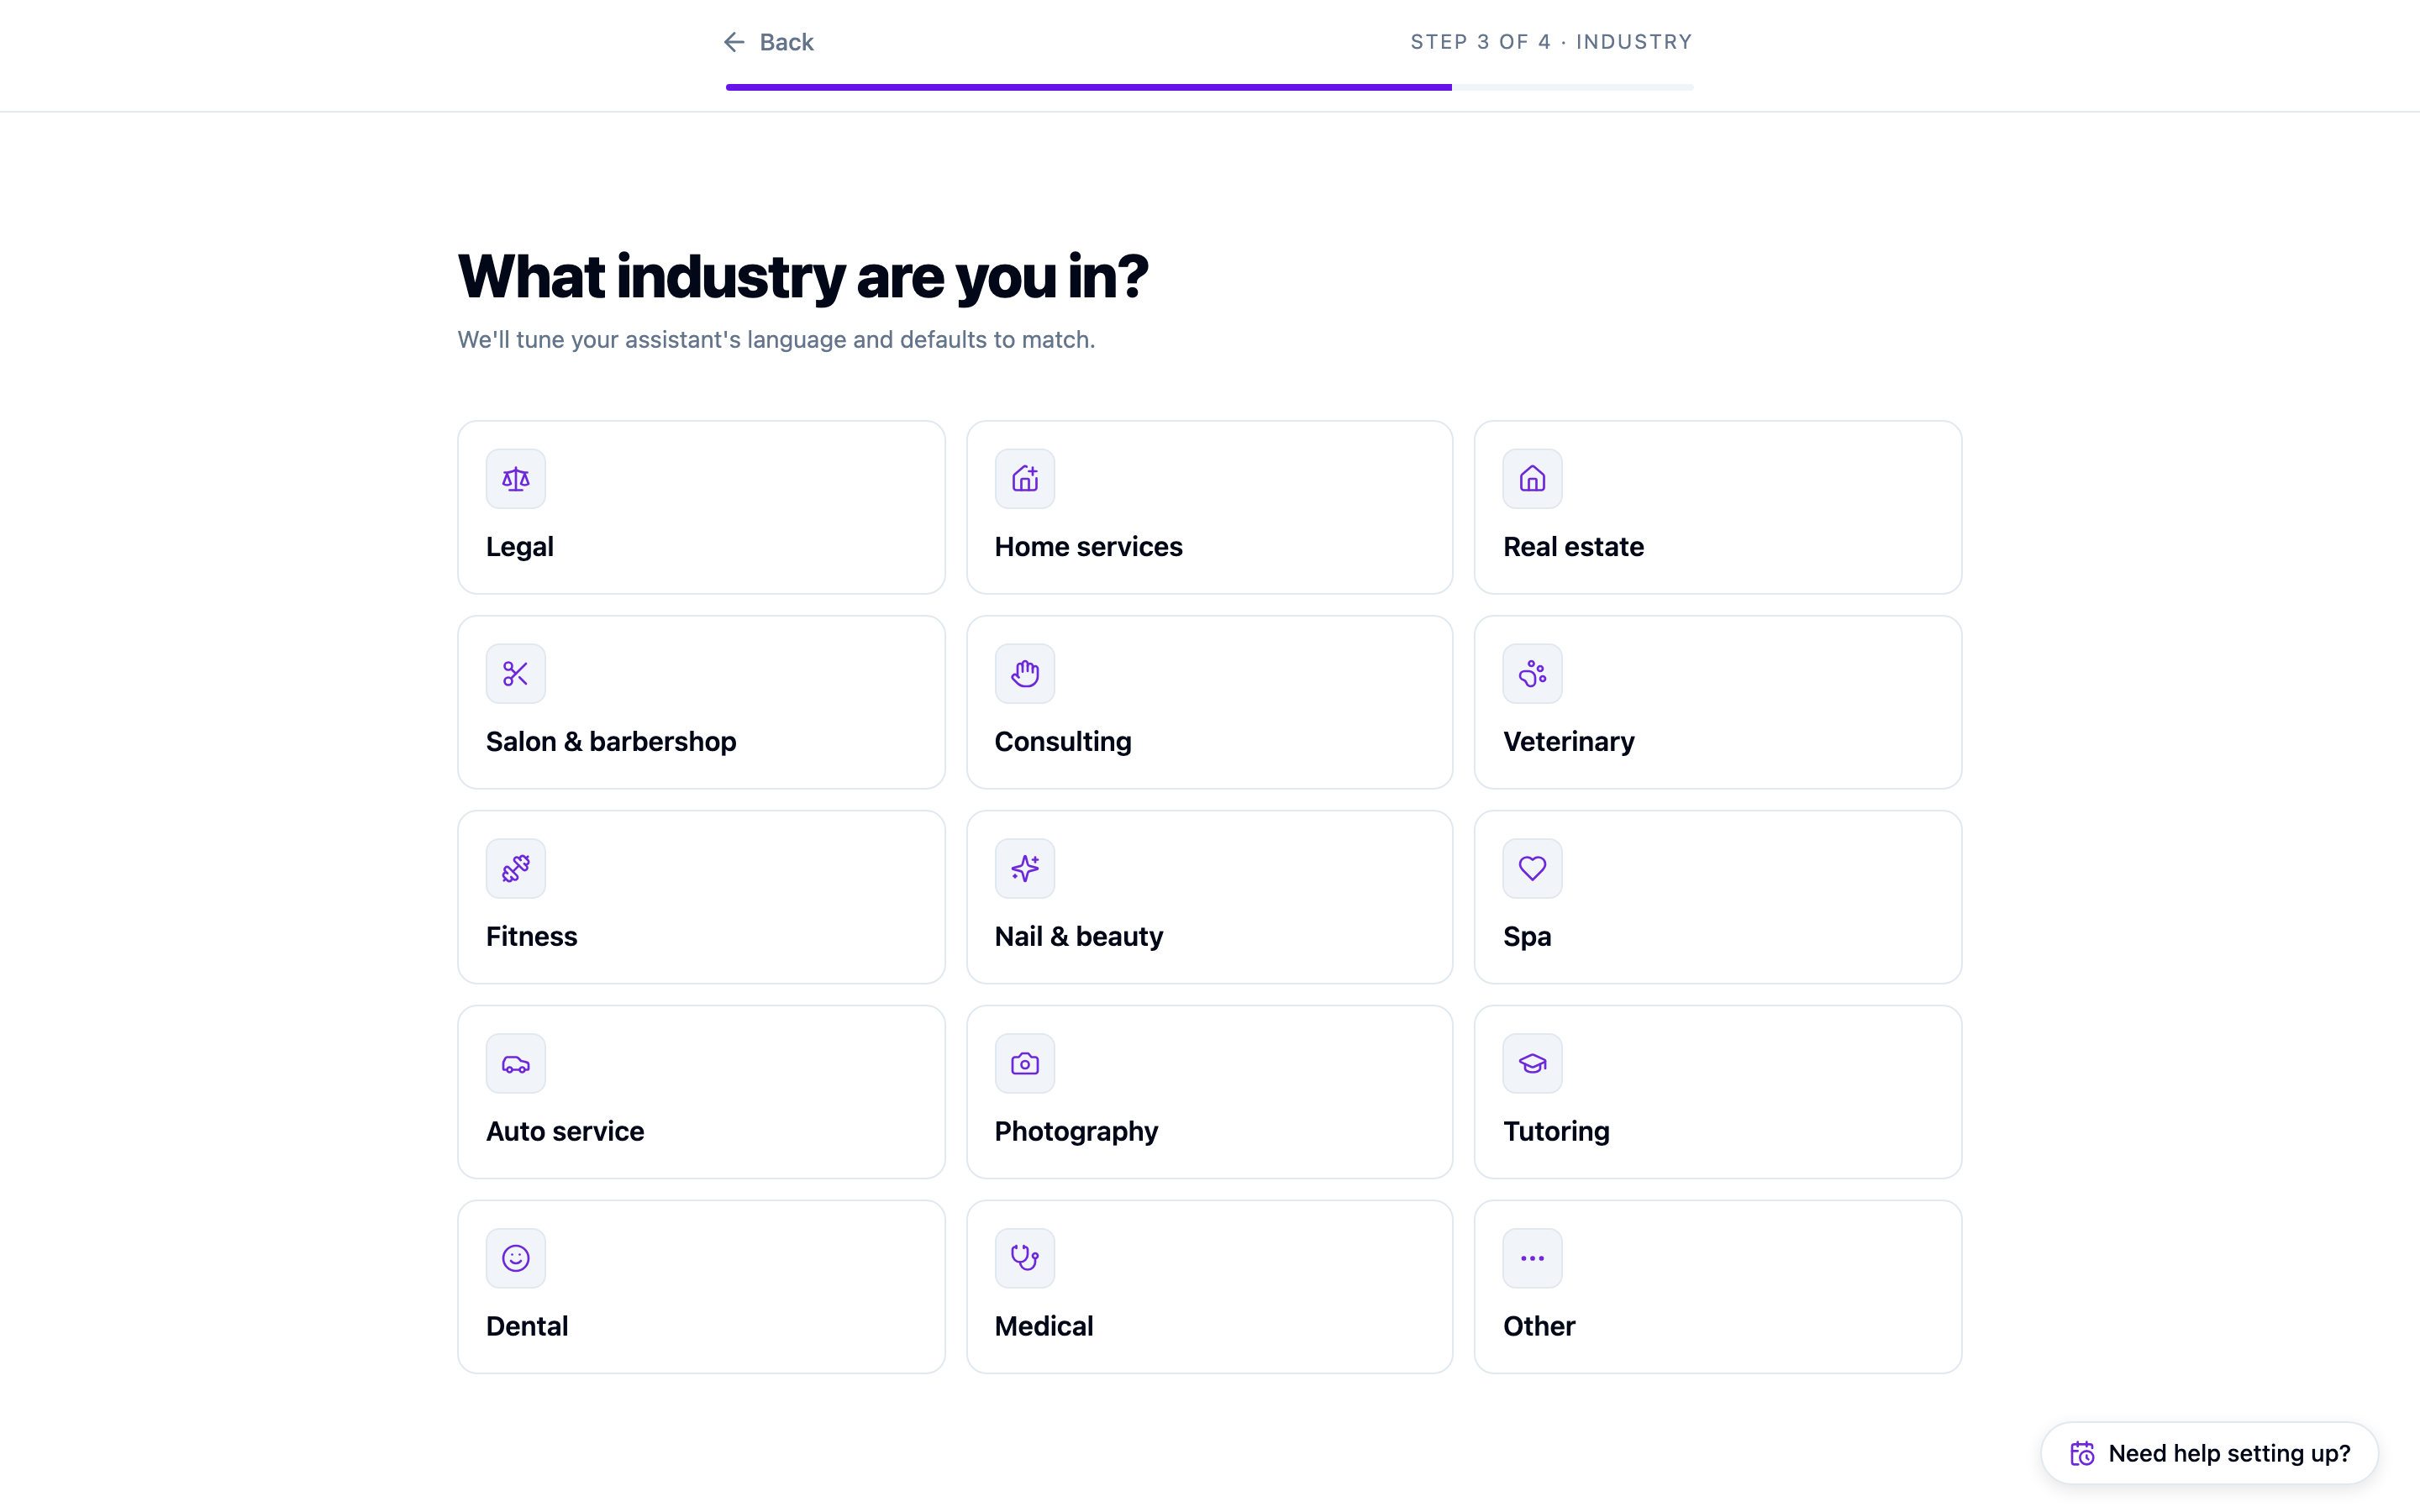
Choose the closest match — legal, home services, real estate, salon and barbershop, consulting, veterinary, fitness, nail and beauty, spa, auto service, photography, tutoring, dental, medical, or Other. Your industry tunes the language and defaults your agent starts with. It doesn’t lock you into anything; every setting stays editable.
Your area code
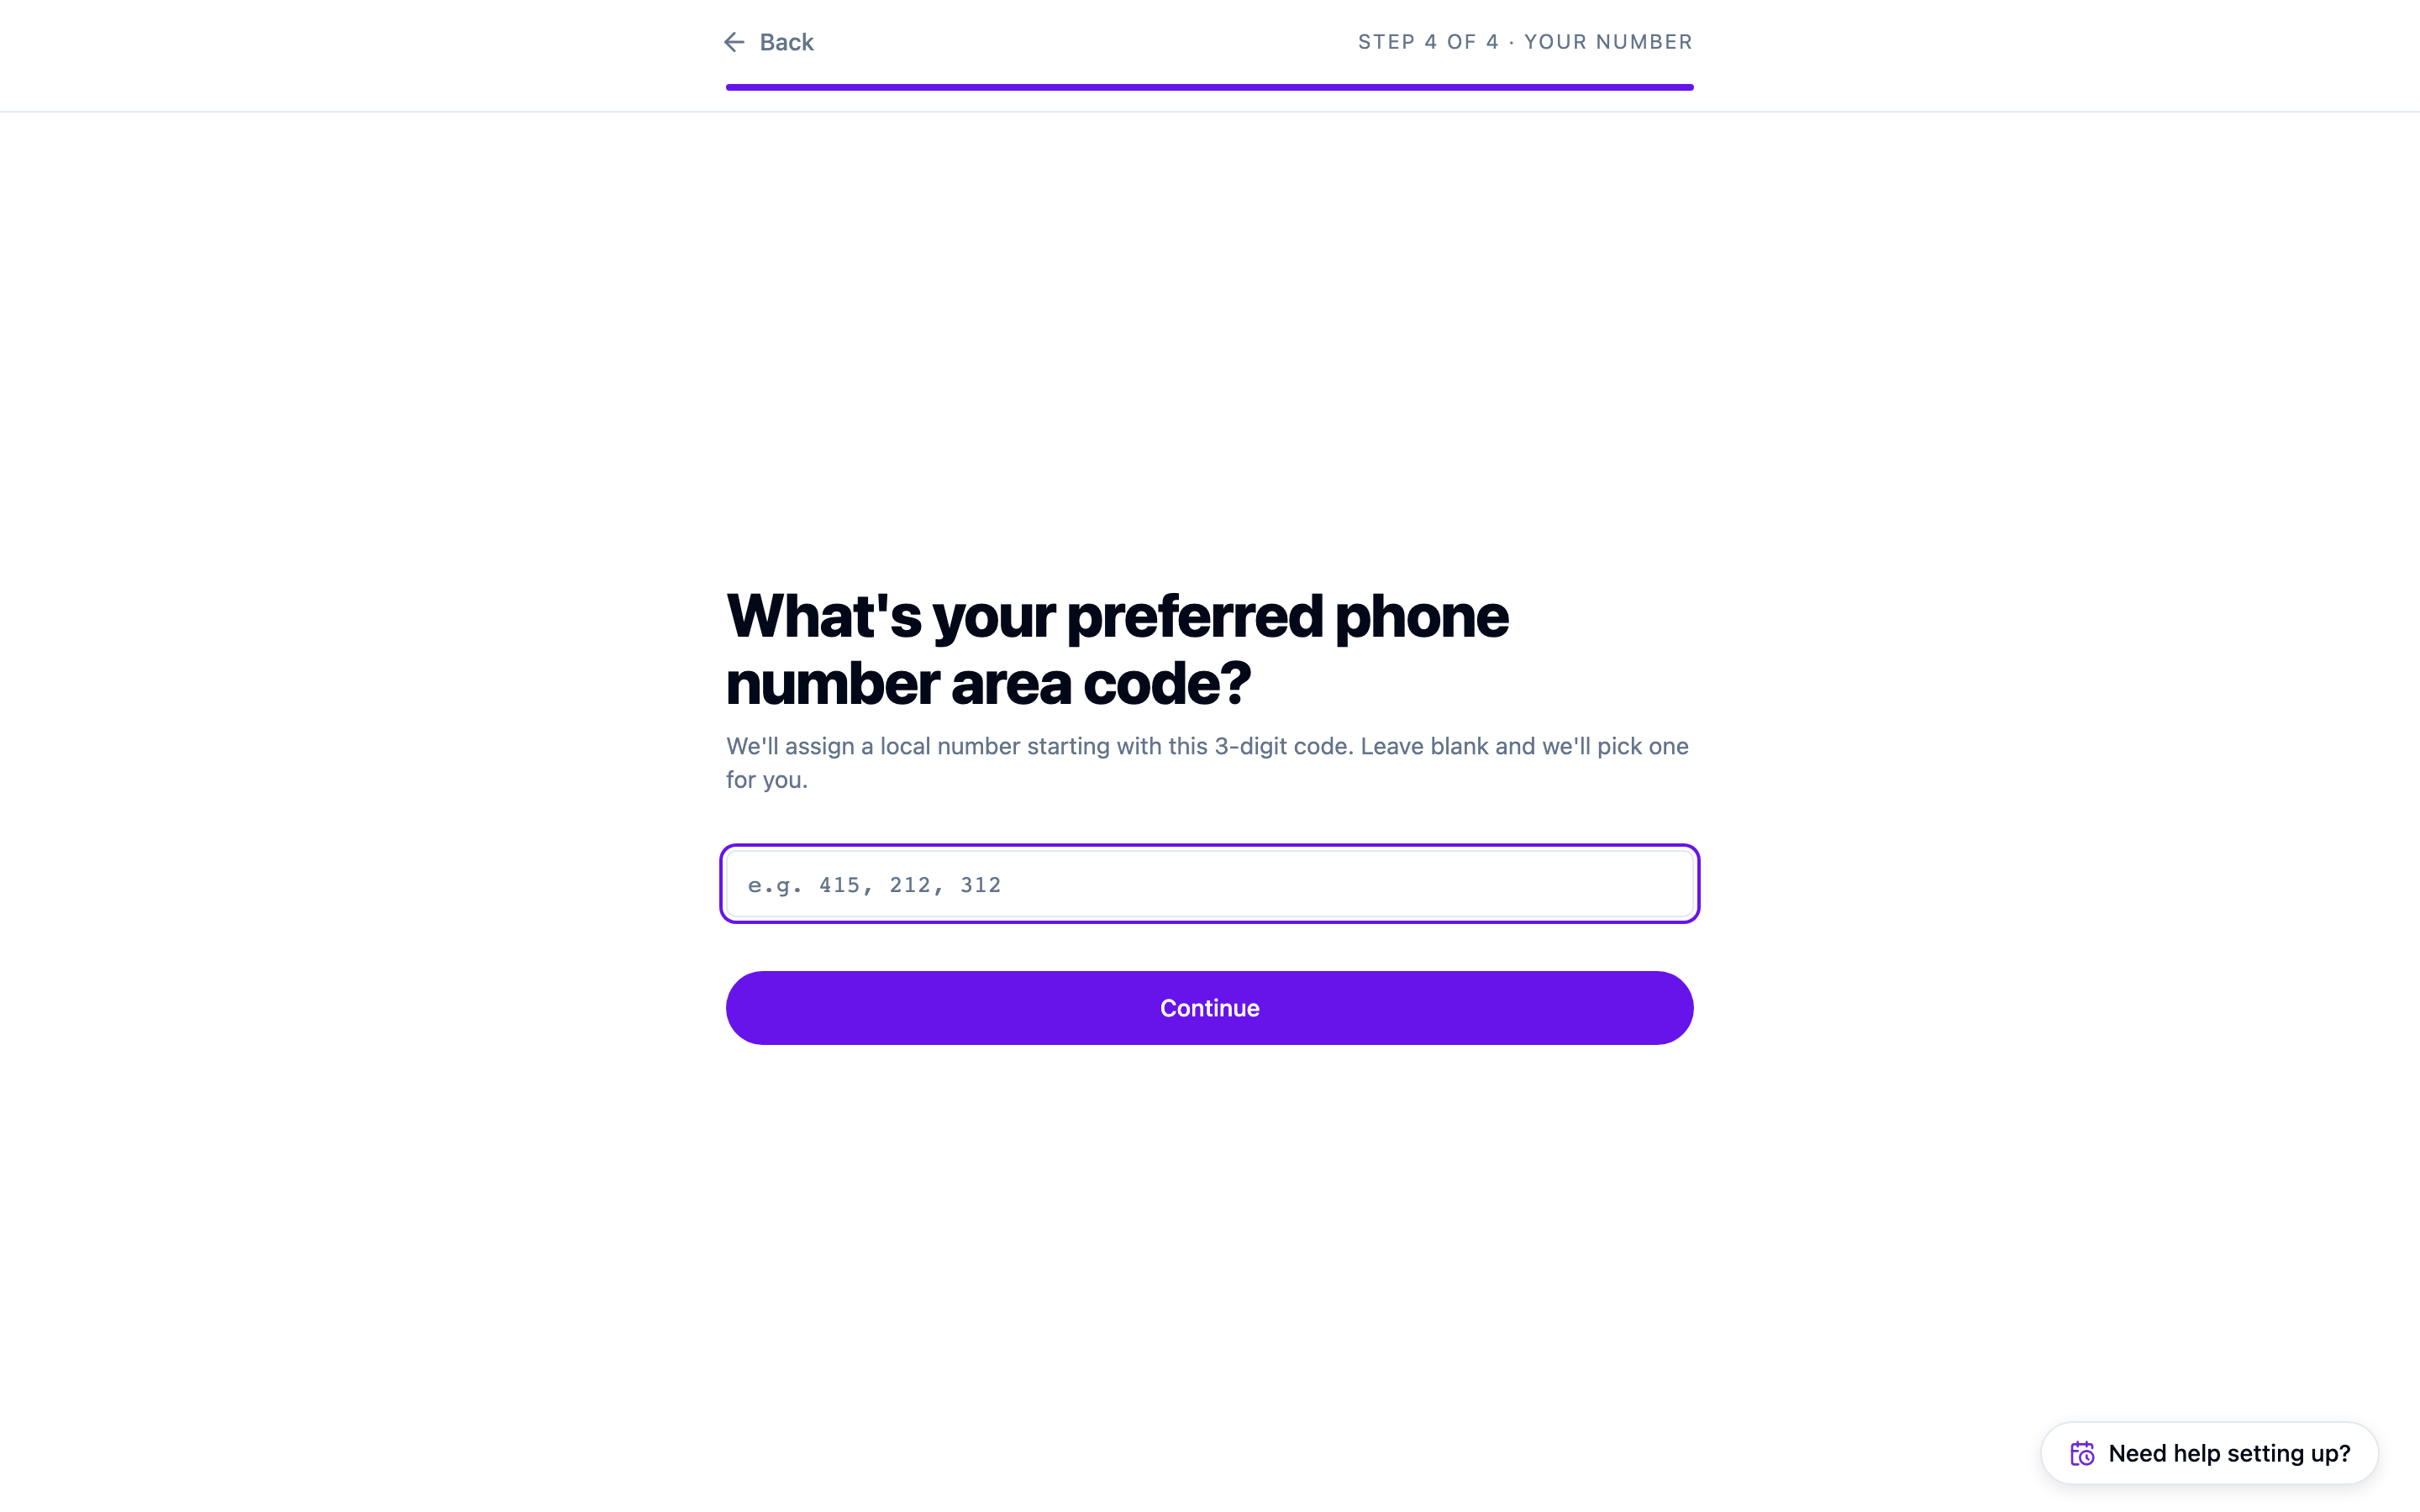
Enter the three-digit area code you’d like your number to start with, so it looks local to the customers you serve. Leave it blank and Callspace picks one for you.
Going live
Once you’ve answered the questions, Callspace provisions your phone number, creates your AI assistant, and switches it on. You’ll see each of those steps tick over, then a confirmation screen with your new number, a Play greeting button so you can hear how your agent sounds, and a link into the dashboard.
Call the number before you do anything else. It’s the fastest way to hear what your callers will hear, and it tells you immediately whether the greeting and business details are right.
Your first look at the dashboard
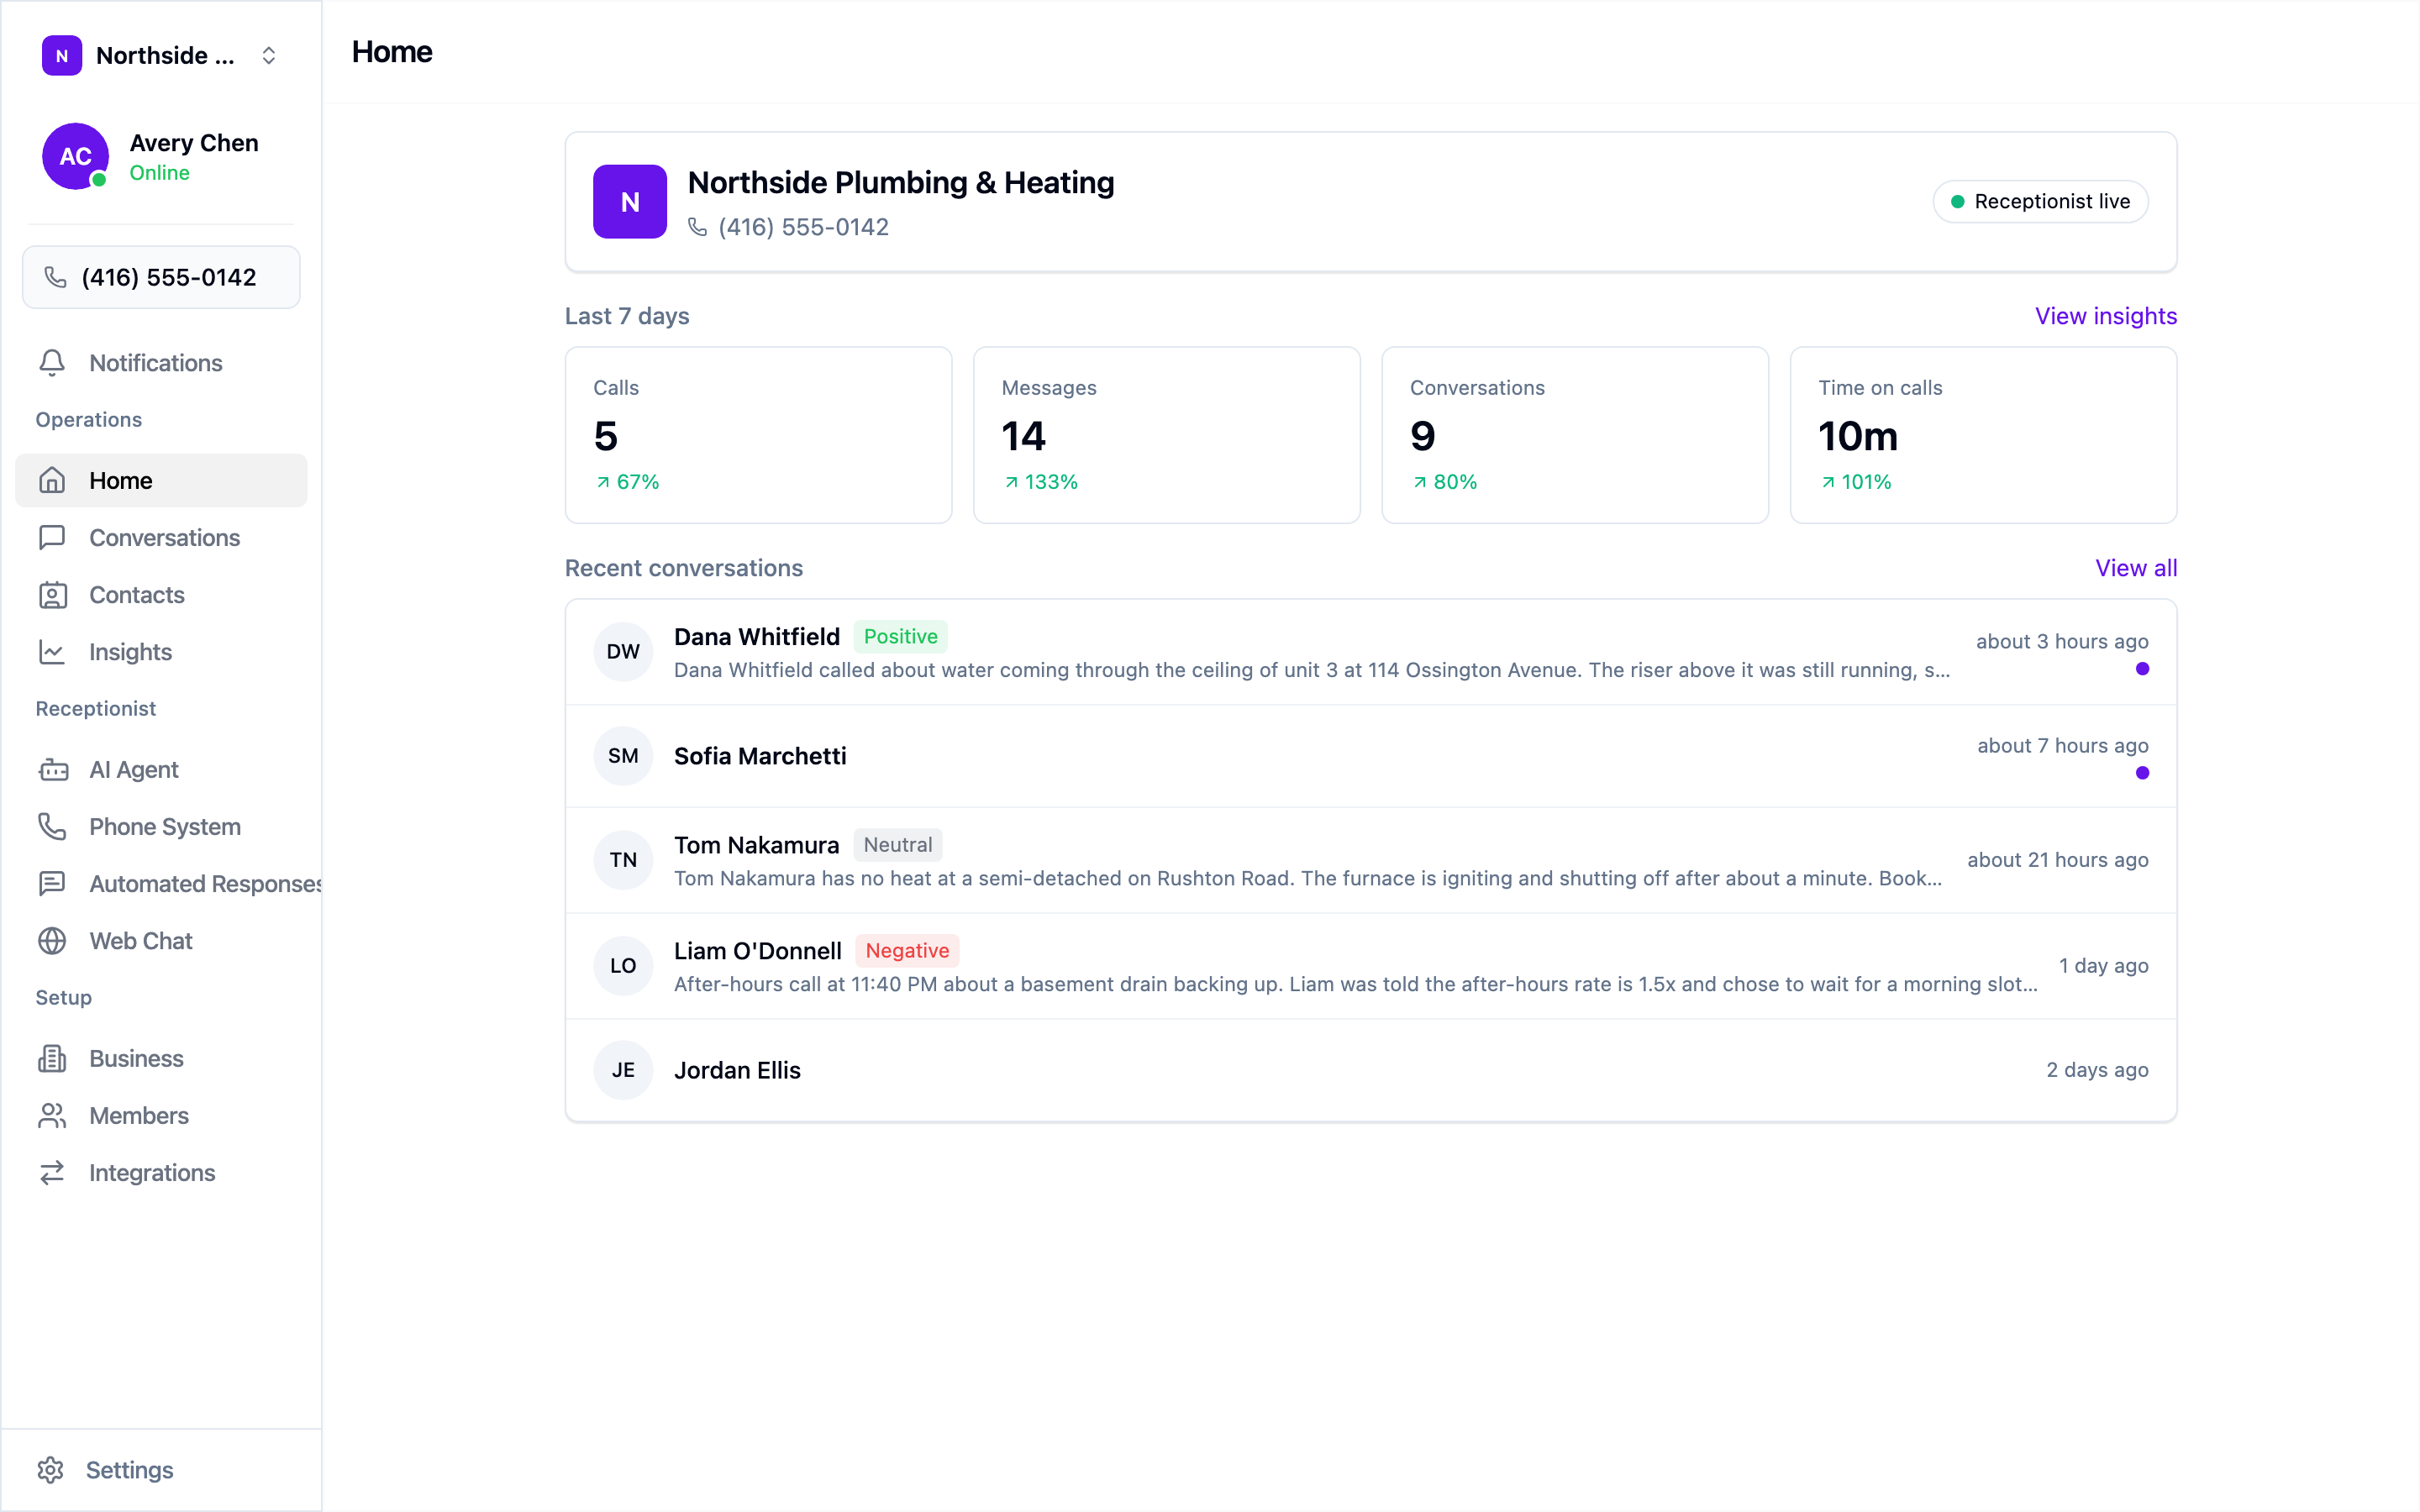
Home shows your last seven days at a glance — calls, messages, conversations, and time on calls — with your most recent conversations underneath. Your test call will already be there, summarised.
From here, the two things worth doing on day one:
- Check what your agent knows. Open Business in the sidebar and read the About and Business Hours fields. If setup pulled them from your website, make sure they’re current. See Teaching your agent about your business.
- Set your greeting and voice. Open AI Agent → Voice & greeting and make the first line sound like your business. See Configuring your AI agent.
Forwarding your existing number
Setup gives you a new Callspace number. If you’d rather keep advertising the number you already have, forward it to your Callspace number using your current carrier’s call-forwarding settings — your agent then answers calls placed to your original number.